The WebLogic Scripting Tool or in short WLST, is a command-line tool that you can use to automate Weblogic server installs and configuration of domains. This post will explain how to setup your Eclipse WLST development environment so you can write the scripts with code completion.
WLST scripting environment
The WLST scripting environment is based on the Java scripting interpreter, Jython. To get access to the WebLogic scripting functions from your Eclipse IDE you’ll have to install the plugins Oracle has made available.
What Does WLST Do?
WLST lets you perform the following tasks:
- Retrieve and edit domain configuration and runtime information.
- Automate domain configuration tasks and application deployment.
- Control and manage the server life cycle.
- Access the Node Manager and start, stop, and suspend server instances remotely or locally
Eclipse WLST configuration
- Install Eclipse Kepler release with the Oracle Enterprise Pack for Eclipse (WTP) from http://download.oracle.com/otn_software/oepe/kepler/wtp/
- Create a Weblogic Server runtime via Window -> Show View -> Servers
- Click this link to create a new Server
- Choose Oracle WebLogic Server 12c (12.1.2)
- Enter the following parameters:
- Weblogic Home: <BEA_HOME>\wlserver
- Java Home: <JAVA_HOME>
- Domain: <WEBLOGIC_DOMAIN_DIR>
Verifying Eclipse WLST installation
- Create a new Facet Project in Eclipse
- Add the Facet Weblogic Scripting Tools (WLST)
- Click on Further configuration required, click OK
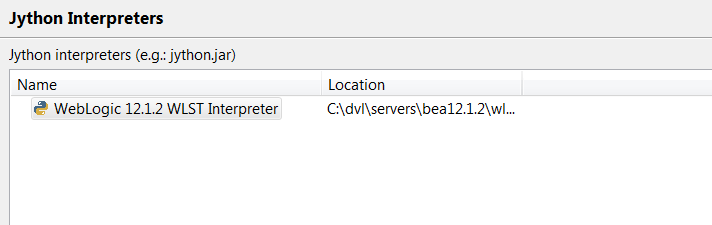
- If you go to Window -> Preferences -> PyDev -> Interpreter Jython, you should now see something similar as below: